
Recently I’ve been fooling around again with a project that I began back in July when I was doing it with the kids in my summer classes. The idea is to carve a number of small blocks and then print them together into one image. I encourage the kids to experiment with different combinations, arranging the blocks in different ways, with or without multiples of each block, for different effects. Interestingly, this is a project that really seems to challenge students, especially the younger ones. For one thing, they have difficulty thinking of a theme for a set of blocks that can go together. Many of them want to make very specific elements of a very specific scene, rather than elements that can be combined in a variety of different ways. Even with more generalizable blocks, most kids’ first instinct is to make scenes out of their component pieces. Some make the leap that they can arrange their blocks into more abstract designs, and very few indeed are bold enough to experiment with overlapping their images. (And I have to confess that when I do the project, I’m not much inclined to overlapping, either! Soon I’ll

post the
mix and match blocks I’ve been doing, but today is dedicated to the kids’ work.) This project makes a fun way for the kids to experiment with issues of composition, to combine relatively small simple blocks into larger pieces with more impact, and to try out different formats.
I begin the project by showing lots and lots of examples to try to explain the idea and the range of possibilities. Then I give the students their blocks precut in a couple of different dimensions - long skinny rectangle, larger square, medium rectangles - to encourage them to try some different things and get some variety into their composition. After they’ve carved, I push them to experiment with printing multiple variations before settling on their favorite way to combine their blocks into a finished piece.
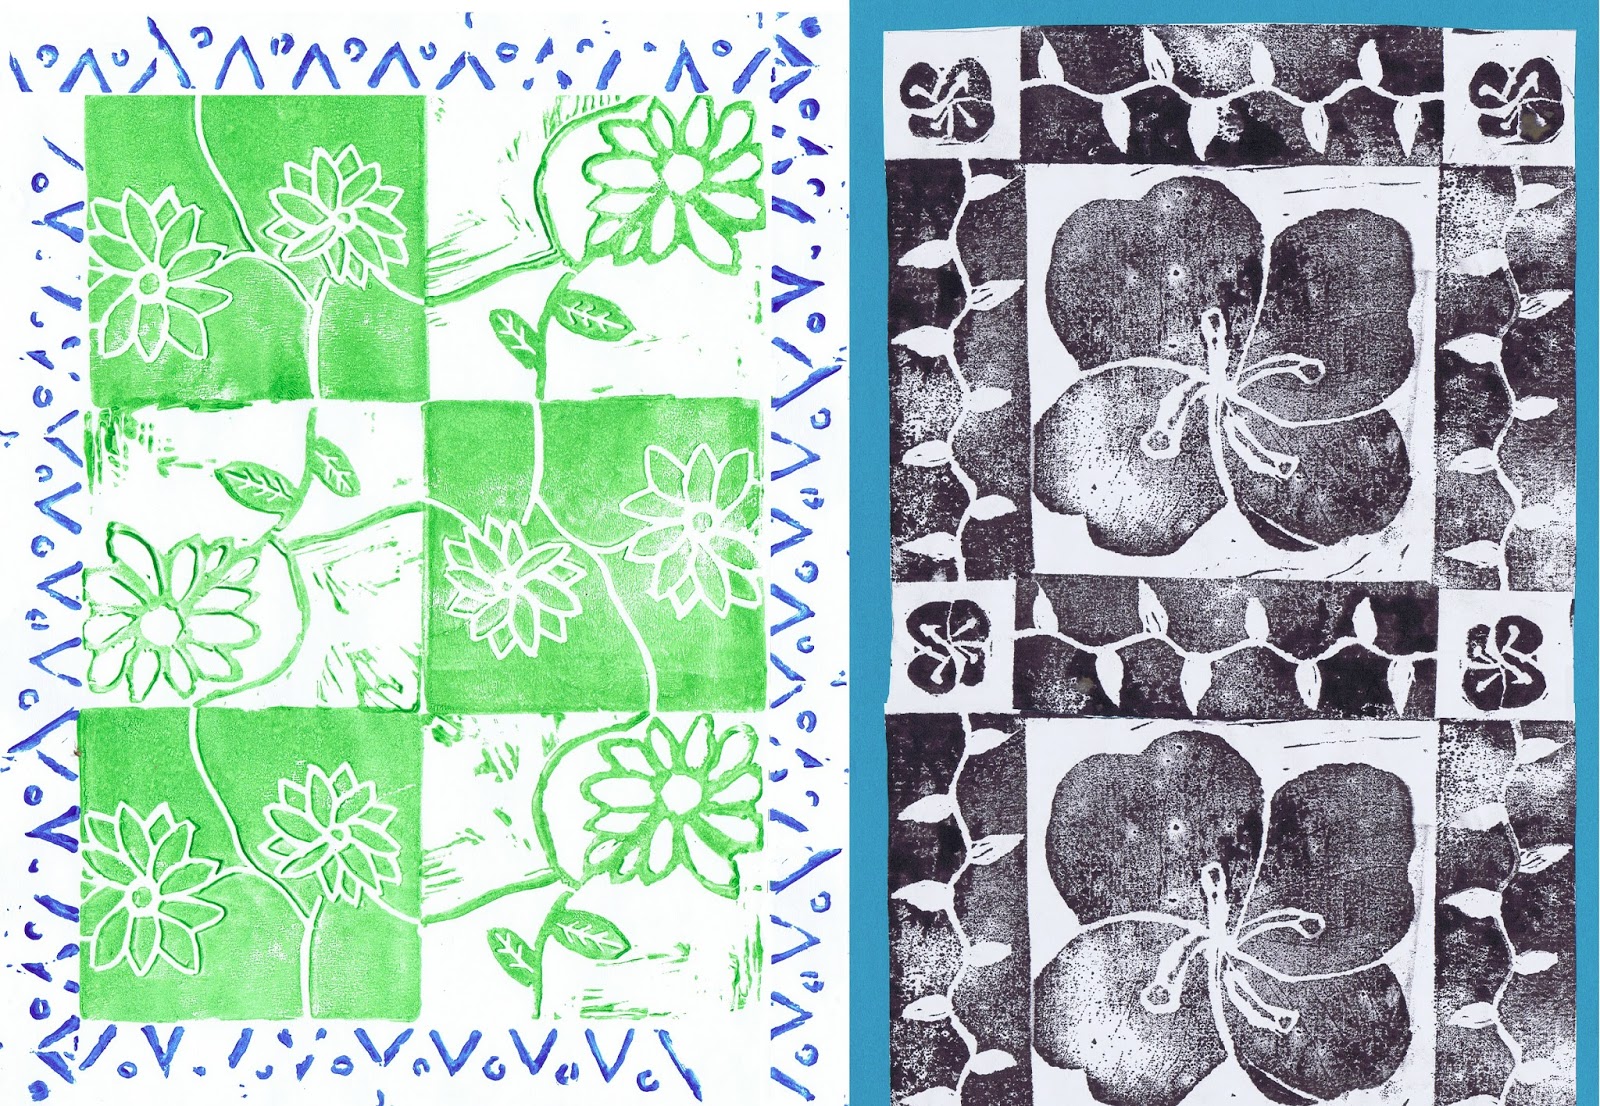
Long long ago when I was teaching middle school full time, I did a similar project with students in an elective on Art of India. We studied the designs and printing blocks used for traditional Indian cotton fabrics, and then the kids carved and printed their own blocks. Students were instructed to consider borders, and to think about how the blocks would match up when printed next to each other. They were told they could print blocks on top of each other, but again, very few of them overlapped their printing.
You can see here some of the variations kids have come up with. There are scenes in which the components are arranged logically to represent the real world. There are designs in which the components are arranged into medallions or patterns (usually symmetrical.) Components can be printed so that they fit right up against each other, or spread with space between. Color is another possible variable. It’s always so much fun to see all the different ways that kids address an artistic challenge.
[Pictures: Fish, print from multiple rubber blocks by ME, 2015;
City, print from multiple rubber blocks by AT, 2015;
Fair Food, print from multiple rubber blocks by CH, 2015;
African Animals, print from multiple rubber blocks by NF, 2015;
Print from multiple rubber blocks on fabric by 8th grader, c. 2000;
Prints from multiple rubber blocks on fabric by two 8th graders, c. 2000;
Flower Medallion, print from multiple rubber blocks by EE, 2014.]


No comments:
Post a Comment